Introduction
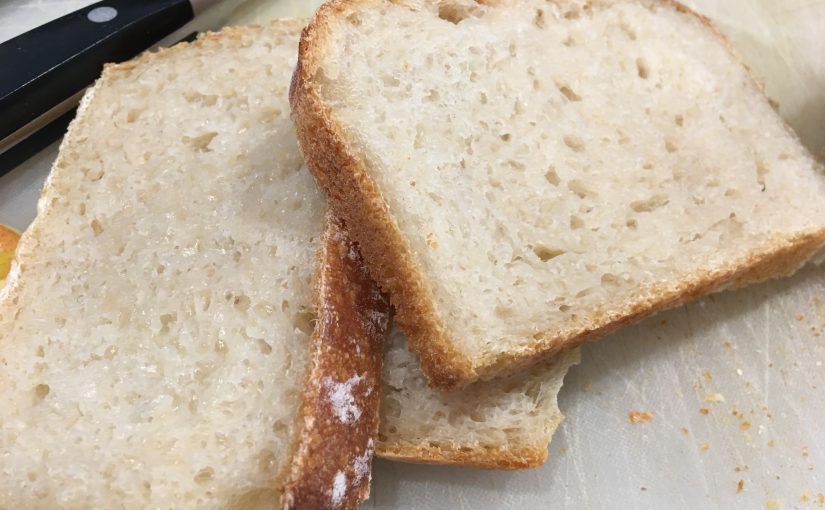
I’ve been making sourdough bread off an on for the last few years, making many bad and a few good, loaves of bread. This recipe is what I’m currently making and results in a loaf of bread that everyone in my family can enjoy.
Note: I’m going to slowly add some recipes to my blog. The real reason that I’m doing this is so that I will always be able to find them when I need to!
This recipe assumes that you already have an active sourdough starter ready to use. If you don’t have a starter it’s really easy to make one, all you need is a google search, flour, and water.
This recipe uses weight (grams) for its measurements instead of cups or spoons. I’ve found that makes a sourdough recipe easier to replicate and tweak the hydration levels. This is a 70% hydration recipe, which means that the amount of water used is 70% of amount of flour used. Using weight makes it easier to switch to a 65% hydration sourdough by simply decreasing the amount of water used or make a half batch.
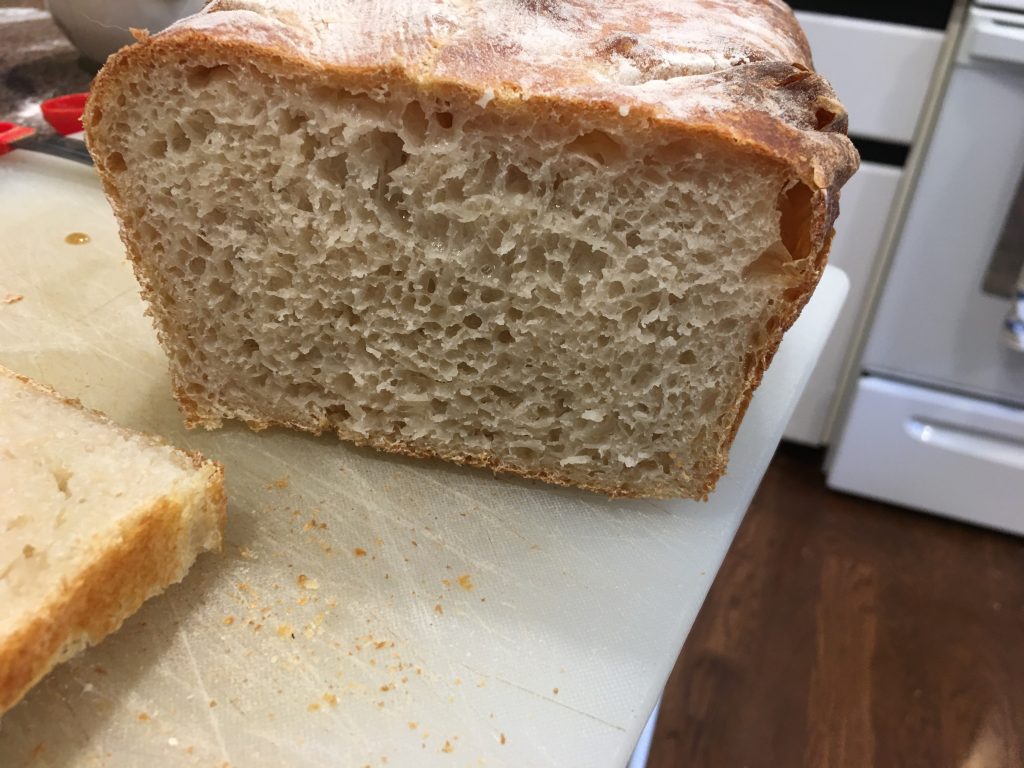
I like 70% hydration as the crust of the bread ends up being soft and chewy as opposed to the crust of some of my earlier loaves that did not pass the kids test.
Ingredients
- 1000g Flour (100%)
- 700g Water (70%)
- 20g salt (2%)
- 250g starter (25%)
Method
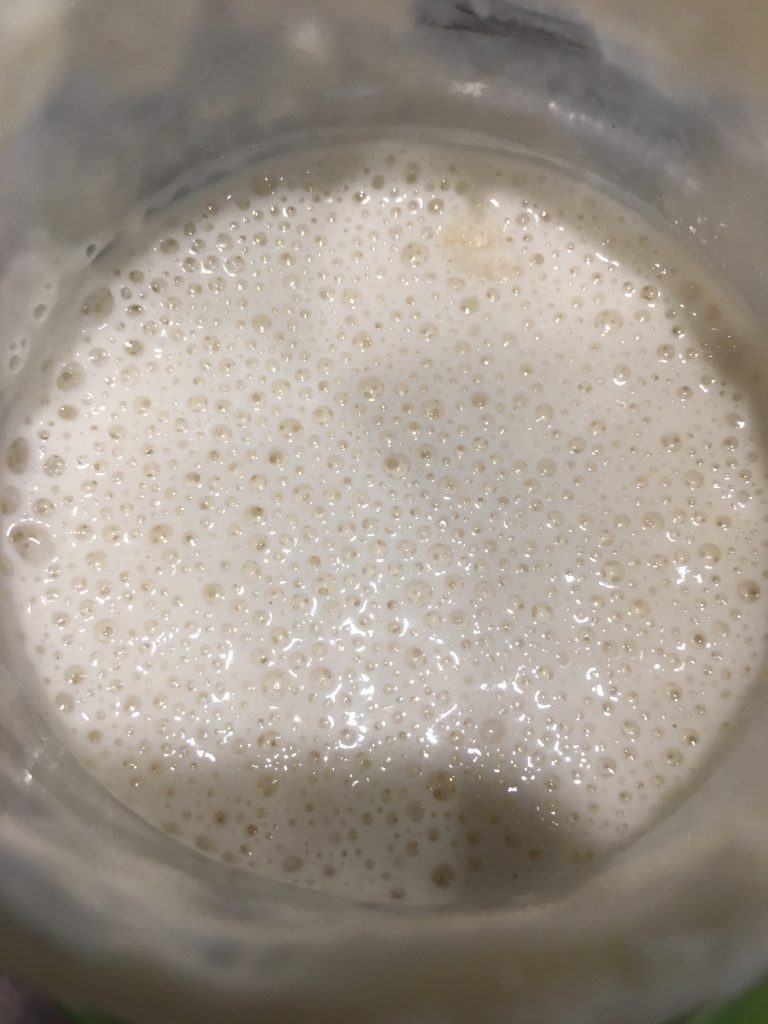
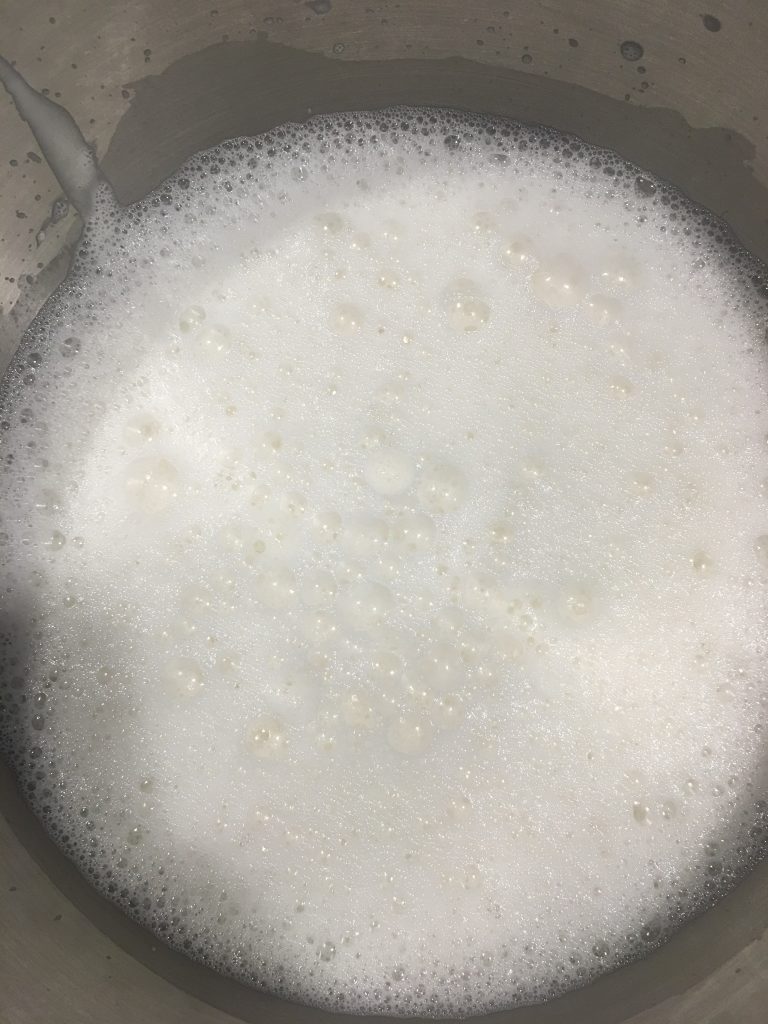
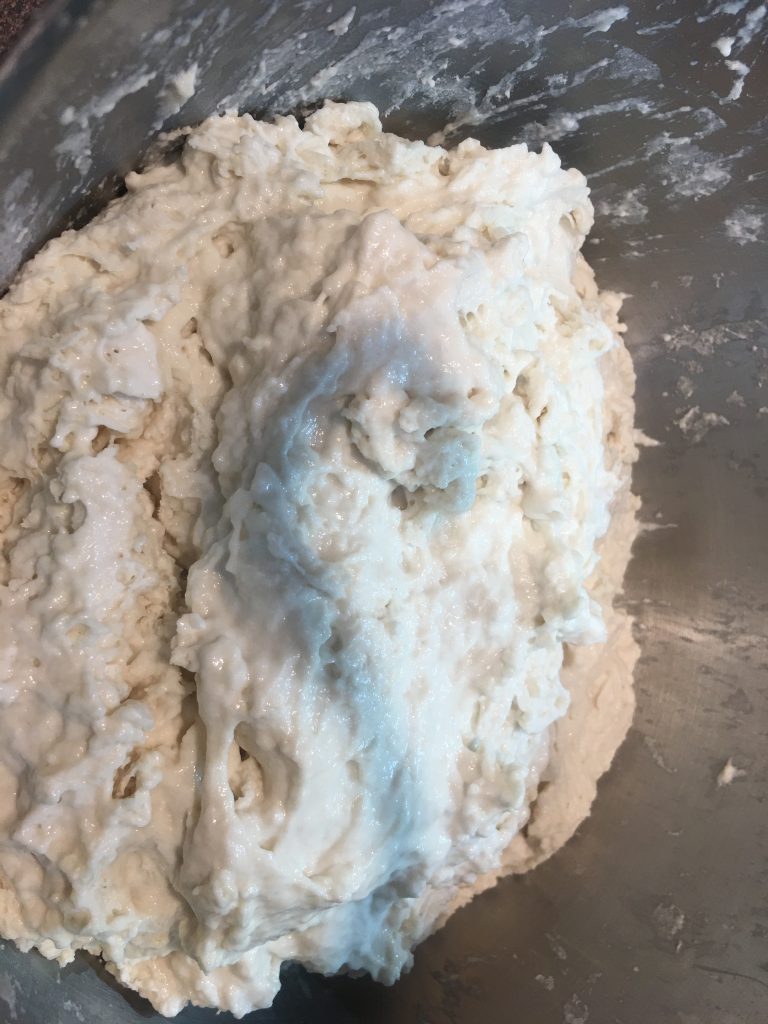
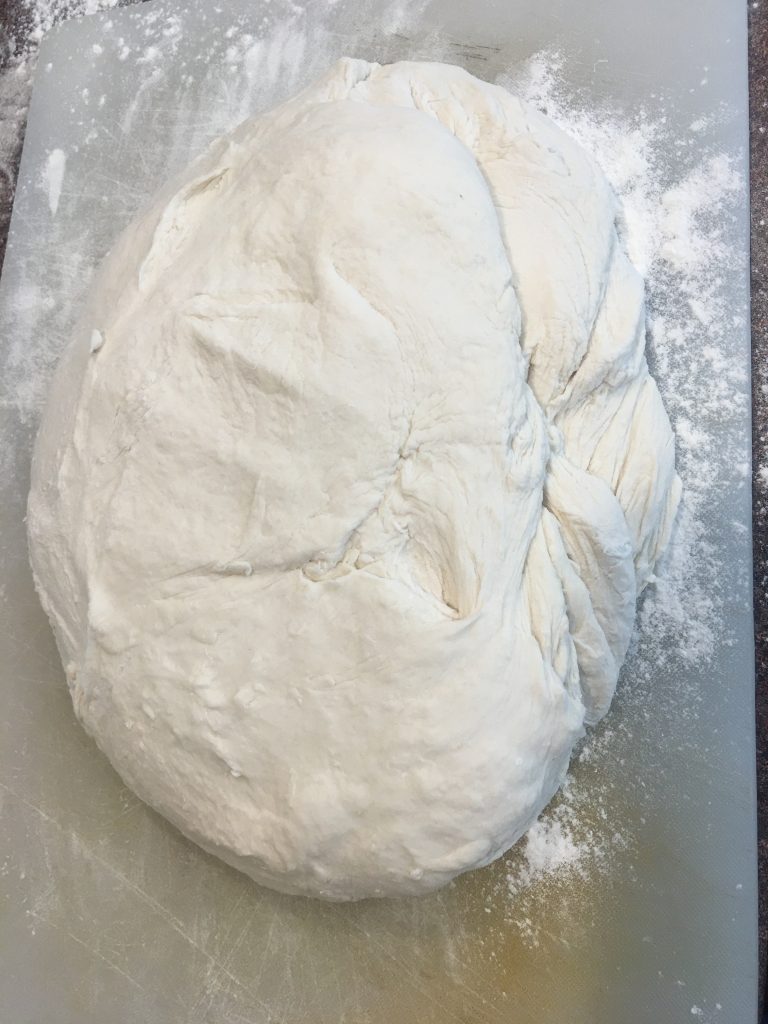
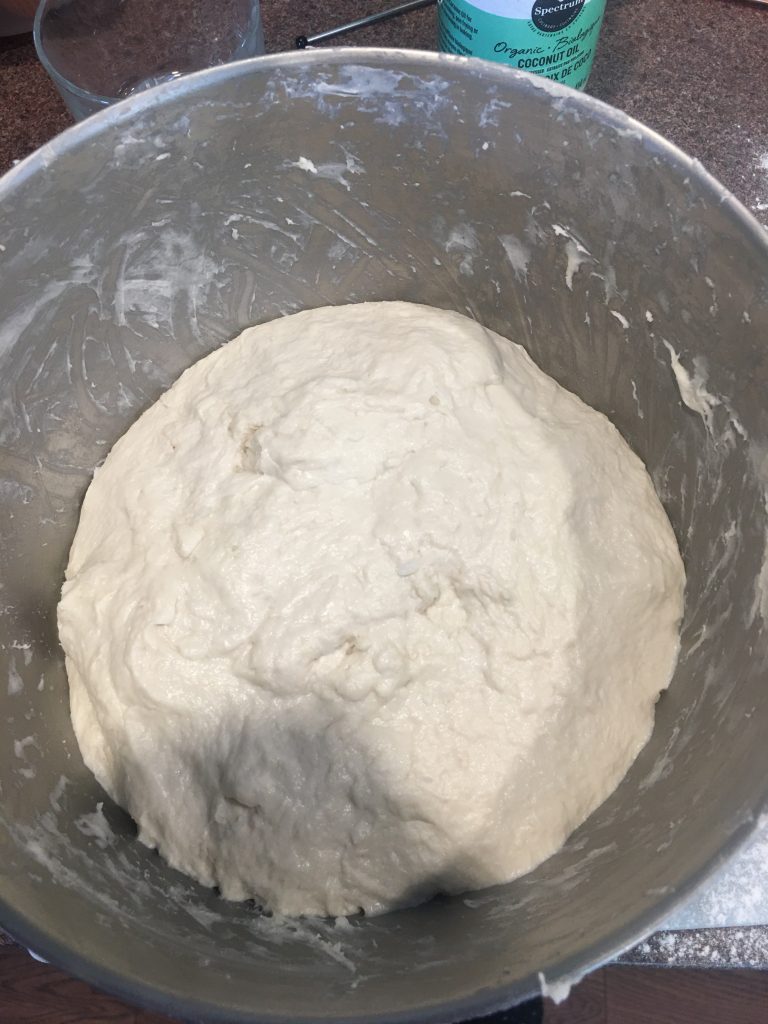
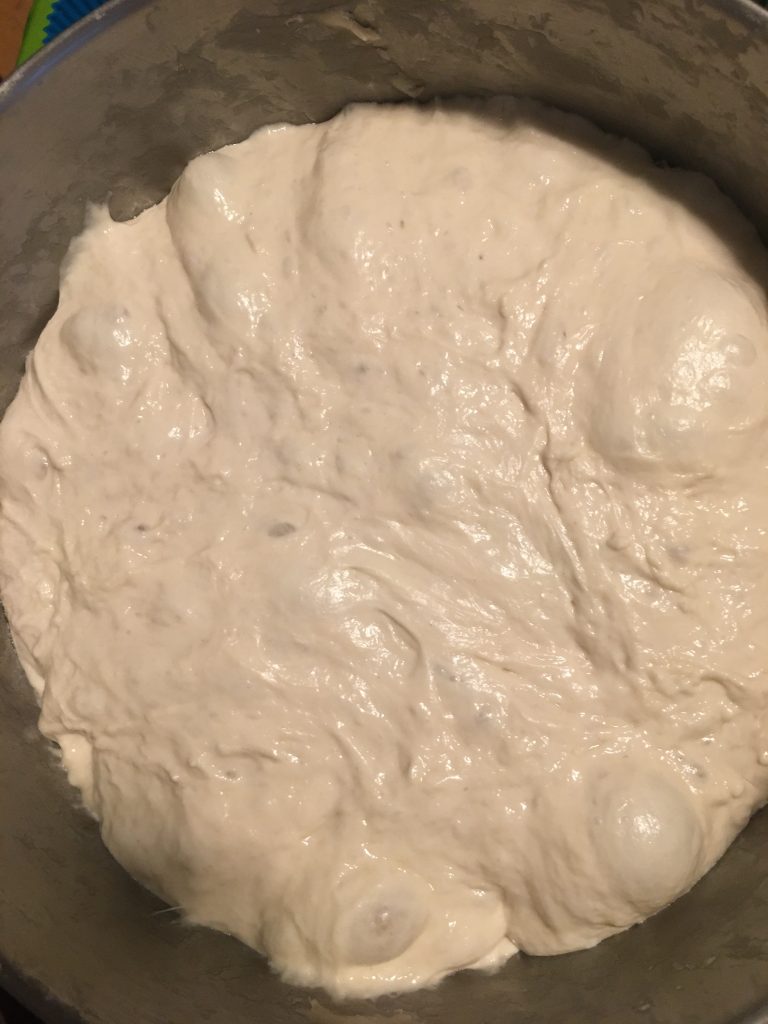
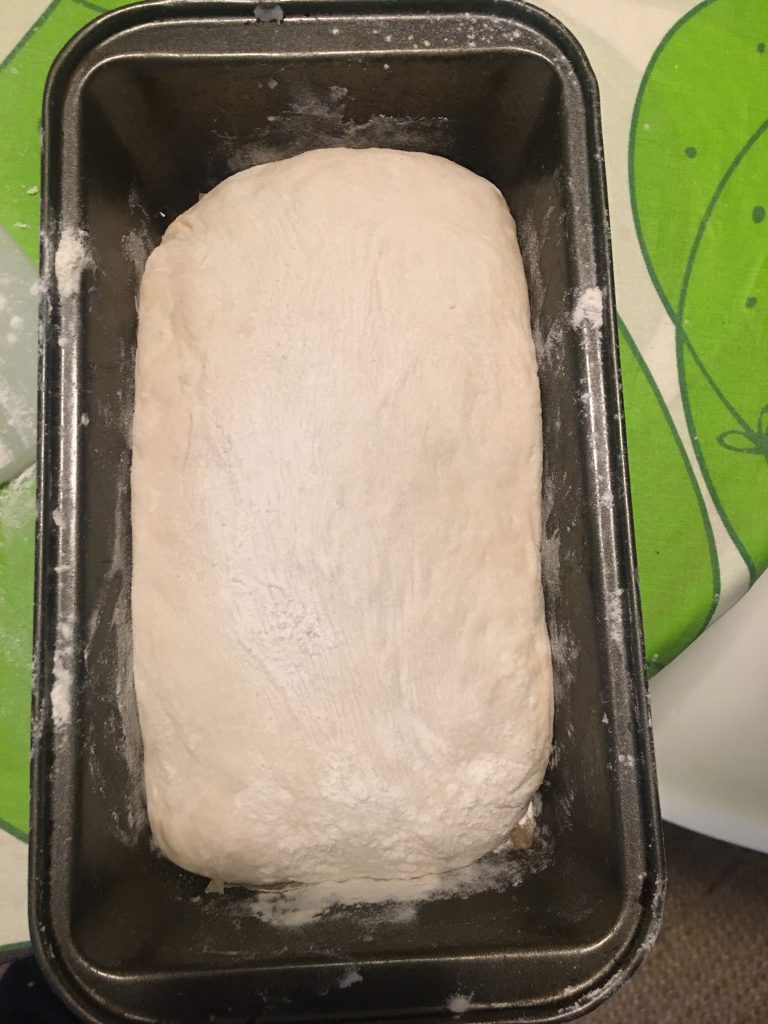
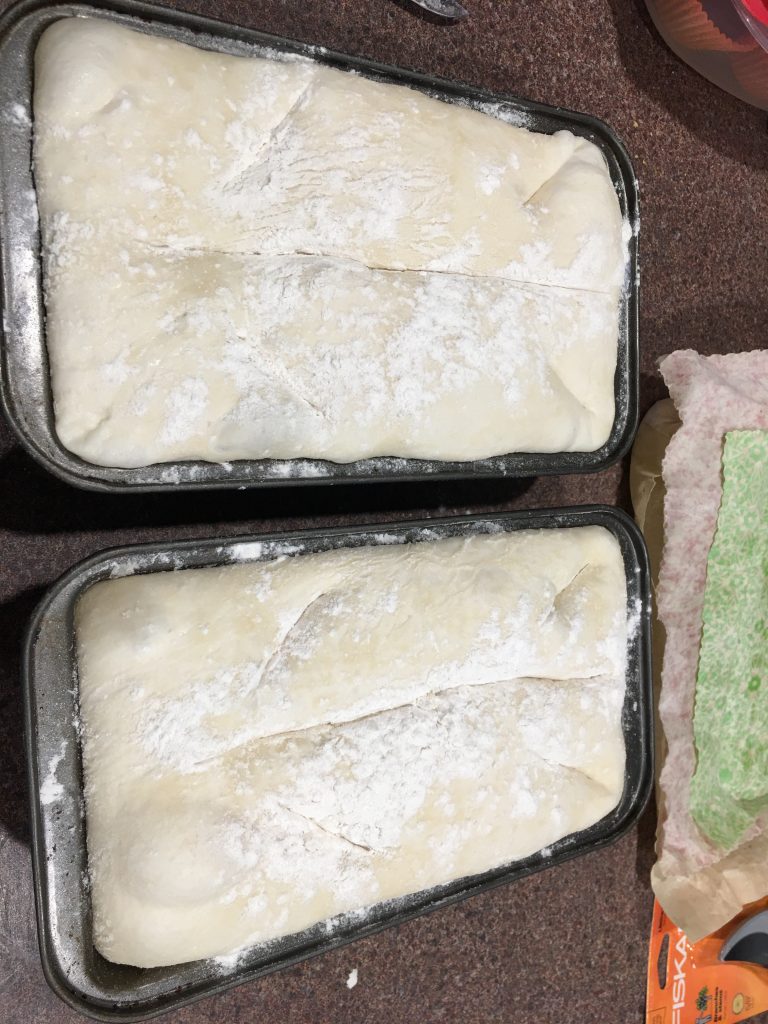
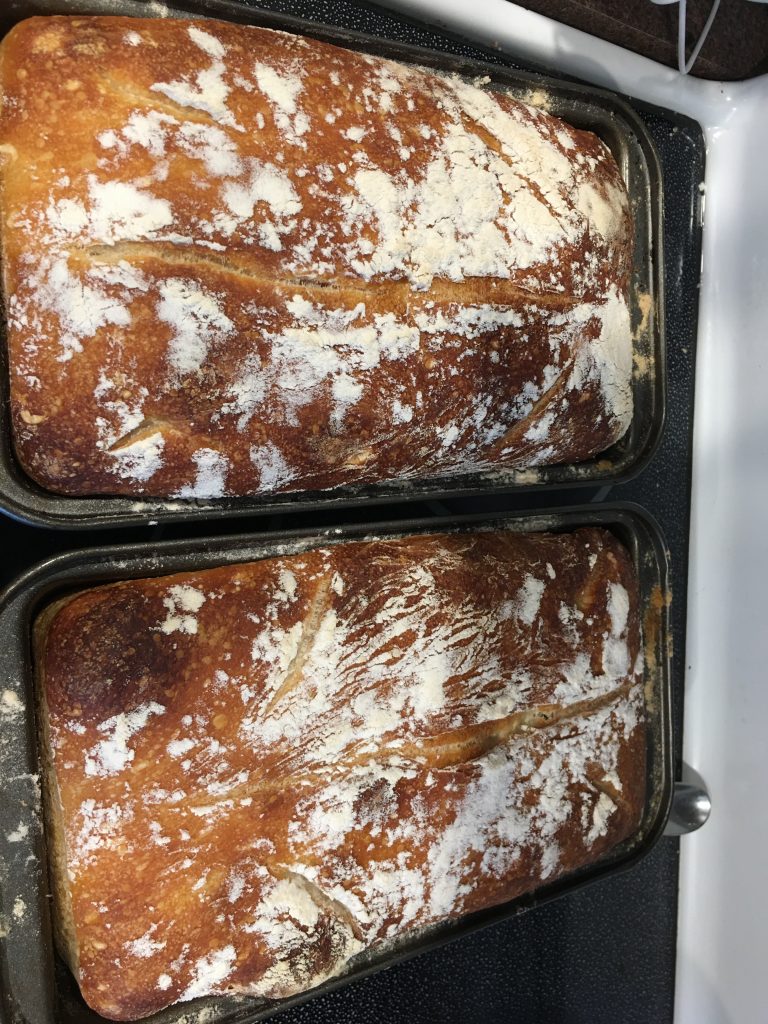
The image gallery below shows various photos taken during my last baking session.
Day One
- Add 250g Starter to a large bowl. If you have a stand mixer with a dough hook use your mixer’s bowl.
- Mix in 700g water.
- Mix until starter has dissolved into the water.
- Add 1000g flour.
- Mix the flour and water until well combined and the dry spots are gone.
- Cover with a clean dishtowel and wait 50 minutes.
- Mix in 20g salt.
- Knead the dough for 5 – 10 minutes until the dough is smooth. If you have a mixer with a dough hook, you can use this as well. Mix with the dough-hook on low (2) until the dough comes away from the sides of the bowl. 8 – 10 minutes
- Remove the dough from the bowl, paint the bowl with coconut oil or olive oil, and cover for bulk fermentation. I like to paint the dough at this point as well so that it does not stick to the bowl or cover. If it is hard to remove the dough, I pull the dough away from the sides of the bowl and sprinkle some flour between the dough and the bowl. This usually lets me pull the dough away and oil the bowl.
- Wait 5 hours until bulk fermentation has finished. I will often punch the dough down once during the 5 hours. If your house is cool put it in the oven with the light on and the over off
- Take the dough out of the bowl and dump onto a lightly floured surface
- Form the bowl into a ball and divide into two. I like making two loaves so that the bread lasts longer, but if you want one you can just make one big loaf.
- Paint your bread pans with olive oil and line the bottom with parchment paper.
- Form each loaf into a smooth oval and place in the bread pans.
- Cover with saran wrap or beeswax cloth and place in the fridge overnight.
Day Two
- In the morning take the bread out of fridge to warm up while the oven heats up.
- Put a metal roasting pan in the oven and heat the oven to 230 °C / 450 °F. The metal pan will be used to create steam to help ensure a soft crust.
- Score the bread so that it does not rip when baking and dust with flour. I tend to score down the middle.
- Put the bread in the oven and reduce the heat to 220 °C / 425 °F.
- Pour water in the metal pan to produce steam to soften the crust.
- Bake for 50 minutes.
- Take out of the oven and let cool. After about 20 minutes take the loaves out of the pan so that the bottoms can cool.
- Wait at least an hour or two before eating.
