This article will show your how to live stream from your RetroPie directly to Twitch.com.
If you want to stream from your RetroPie to Twitch you will first need to get gameplay recording working (installing FFmpeg and rebuilding RetroArch with FFmpeg support) which you can do by following along with my earlier post: How To Record A GamePlay Video From A RetroPie
Once that is set up the next steps are pretty simple, I thought that it would be more difficult but it turns out it’s pretty straight forward to get a RetroPie to stream something to Twitch.
The big problem is the performance of the games as you are playing them. The performance is alright but I’d love to be able to up the quality a bit without having the games slow down as you play them, but I thought that I would post this and maybe a reader who knows FFmpeg better than I do could give me some tips.
Note: You can see my test stream here: https://www.twitch.tv/selsine
Assumptions
I’m going to assume that you can already ssh into your RetroPie and that you can already record gameplay videos. If not checkout my post: How To Record A GamePlay Video From A RetroPie or RetroResolutions: Recording Live Gameplay in RetroPie’s RetroArch Emulators Natively on the Raspberry Pi
Getting A Twitch Account and Stream Key
If you want to stream to Twitch you will need a Twitch account (of course) to do so visit: https://www.twitch.tv/signup and signup.
Once you have an account you will need your Twitch stream key. You can get this by visiting the ‘Stream Key’ tab on your twitch dashboard at the following URL:
https://www.twitch.tv/<
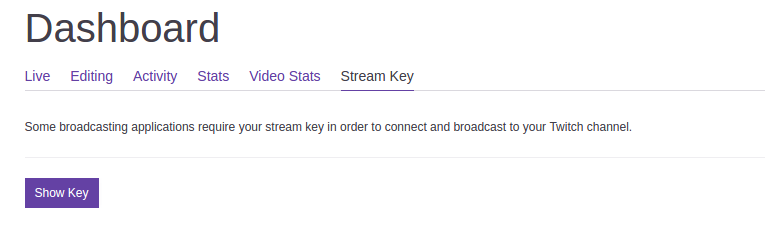
From there hit the ‘Show Key’ button and grab your stream key.
Note: Keep your stream key private. Anyone that has it can stream to your Twitch account, and you don’t want that happening.
Twitch Config File
Now that we have our twitch account setup we will need to create a Twitch config file for FFmpeg so that the recordings it does are compatible with the Twitch servers.
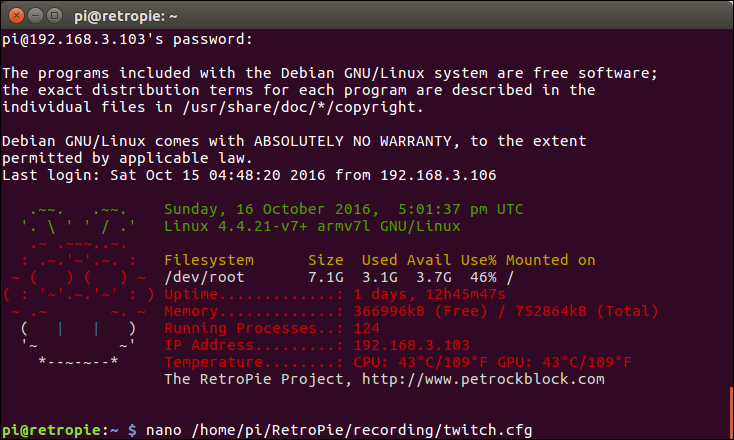
To do that ssh into your Raspberry Pi and use the following command to create the config file:
$ nano /home/pi/RetroPie/recording/twitch.cfg
I based my config file off of what I found on the RetroArch wiki however when ever I had my audio codex set to ‘libmp3lame’ I would get a “bus error” at the following location: ‘/opt/retropie/supplementary/runcommand/runcommand.sh: line 855: 16499’
Switching to ‘aac’ as the audio code solved the issue and got me streaming to Twitch, however there were lots of lag issues, so I spent a long time configuring the settings trying to get the games to play smoothly locally and stream at the same time.
In the end these are the settings that I settled on:
vcodec = libx264
acodec = libfdk_aac
pix_fmt = yuv420p
threads = 2
scale_factor = 1
format = flv

video_preset = ultrafast
video_profile = main
video_tune = animation
video_bufsize = 512k
video_minrate = 512k
video_maxrate = 512k
video_r = 60
video_g = 120
video_keyint_min = 60

sample_rate = 44100
audio_preset = aac_he_v2
audio_global_quality = 1
There is only a bit of audio distortion but the stream gets an excellent rating on Twitch.
Once you have pasted the above settings into your config file save (CTRL+O) and exit (CTRL+X).
Emulator Configuration
Now we need to add an entry into our emulator config file that will start a twitch stream rather than a regular recording or normal emulation.
Note: For more information on emulator config files checkout my first recording howto.
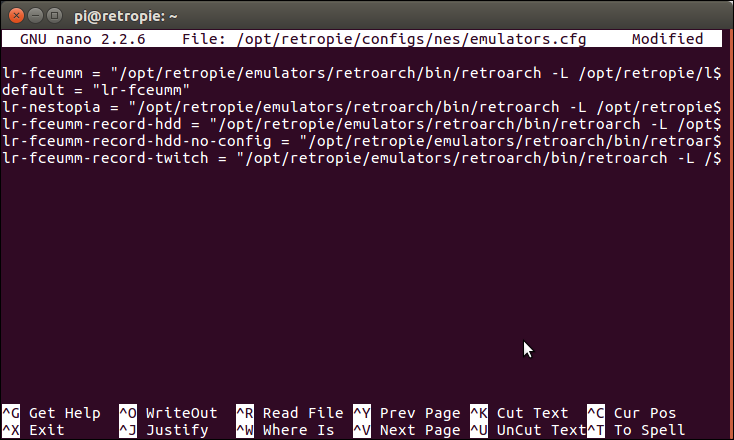
For this example we are going to edit the NES system’s config file using the following command (you have to ssh in):
$ nano /opt/retropie/configs/nes/emulators.cfg
Then we need to add an entry that will stream to Twitch. We will call it: ‘lr-fceumm-record-twitch’ and we will use the following command:
lr-fceumm-record-twitch = "/opt/retropie/emulators/retroarch/bin/retroarch -L /opt/retropie/libretrocores/lr-fceumm/fceumm_libretro.so --config /opt/retropie/configs/nes/retroarch.cfg --record rtmp://live.twitch.tv/app/$$STREAM_KEY$$ --recordconfig /home/pi/RetroPie/recording/twitch.cfg %ROM%"
Where we specify the Twitch config file that we created earlier:
--recordconfig /home/pi/RetroPie/recording/twtich.cfg
And the RMTP Twitch URL that we will stream to:
--record rtmp://live.twitch.tv/app/$$STREAM_KEY$$
Where $$STREAM_KEY$$ is the stream key that you got from your Twitch account earlier.
Then save (CTRL+O) and exit (CTRL+X).
Note: You may want to check out the list of Twitch servers and choose one that is the closest to you.
Streaming Your Gameplay
That’s it for the setup. Now you can go into the NES section on your RetroPie and start a game. While the game is loading hit the ‘A’ button to enter the configuration and select ‘Select emulator for rom’. There you will see the new ‘lr-fceumm-record-twitch’ entry that we added. Select it (it will now be the default so be sure to change it if you don’t want to stream next time you play.) and when you launch the game you should now be streaming to twitch.
You can check my stream to see if I’m playing anything: https://www.twitch.tv/selsine
